Raised Garden Beds.
Consider the benefits of raised garden beds if you want to improve your gardening game. In addition to being useful, these elevated planters also provide a sense of refinement to your outdoor area.
Raised Garden Beds
Building Your Own Raised Garden Bed
Creating a raised garden bed is a satisfying DIY project. Here are the basic steps to get you started:
Materials You’ll Need:
- Lumber (cedar or redwood are popular choices for their durability)
- Screws or nails
- A saw
- Measuring tape
- Level
- Weed barrier fabric
- Soil, compost, and organic matter
Whether you’re a seasoned pro or just getting started, raised garden beds are a game-changer for any gardener. They make gardening more accessible while providing greater drainage, soil control, and weed management. Additionally, they give your outside space an air of elegance. So, step up your gardening game and think about creating a raised garden bed.
Steps:
- Choose a Location: Select a sunny spot in your garden that receives at least 6-8 hours of sunlight per day.
- Measure and Cut: Determine the size of your raised bed and cut the lumber to the desired lengths. Typical dimensions are 4×8 feet, but you can customize to fit your space.
- Assemble: Build a rectangular frame by connecting the lumber pieces at the corners. Use screws or nails to secure the corners and ensure the frame is level.
- Prepare the Ground: Clear the area of grass and weeds. Lay down weed barrier fabric inside the frame to prevent weeds from growing up into the bed.
- Fill with Soil: Fill the raised bed with a mixture of soil, compost, and organic matter. Aim for a rich, well-draining blend.
- Plant Your Garden: Now, it’s time to plant your favorite flowers, vegetables, or herbs. Follow spacing guidelines for each plant, water thoroughly, and watch your garden thrive.

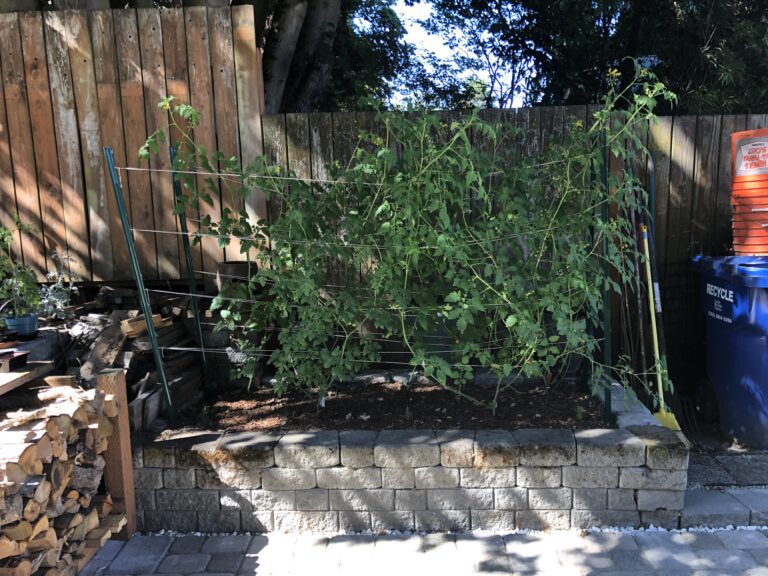
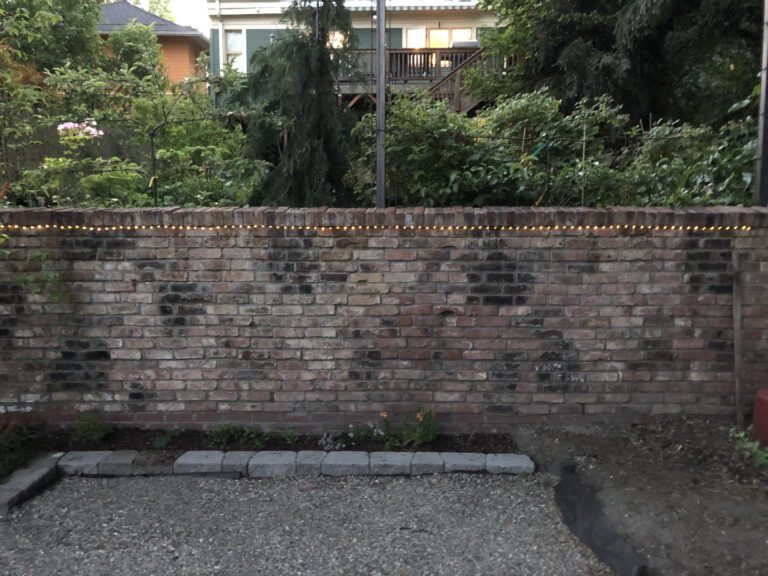
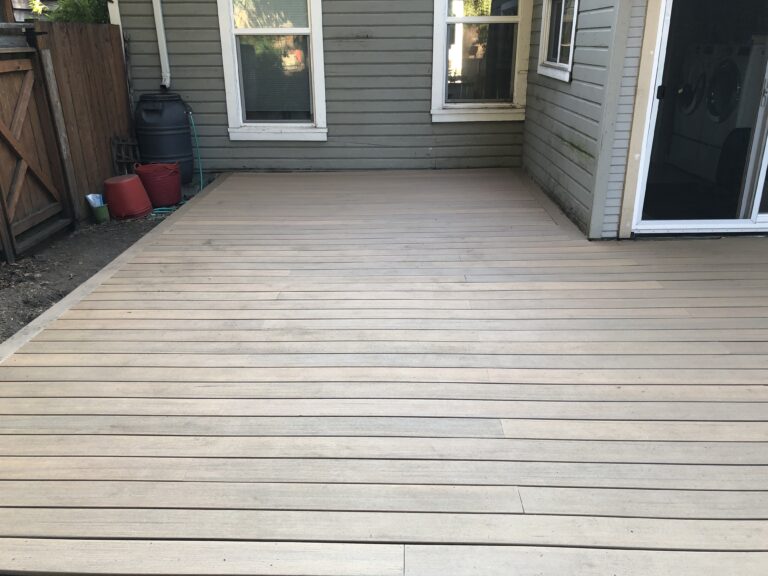
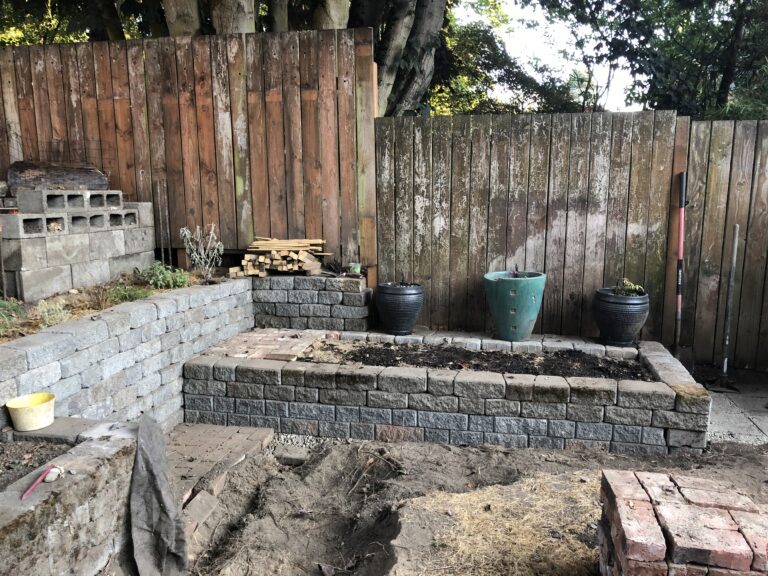
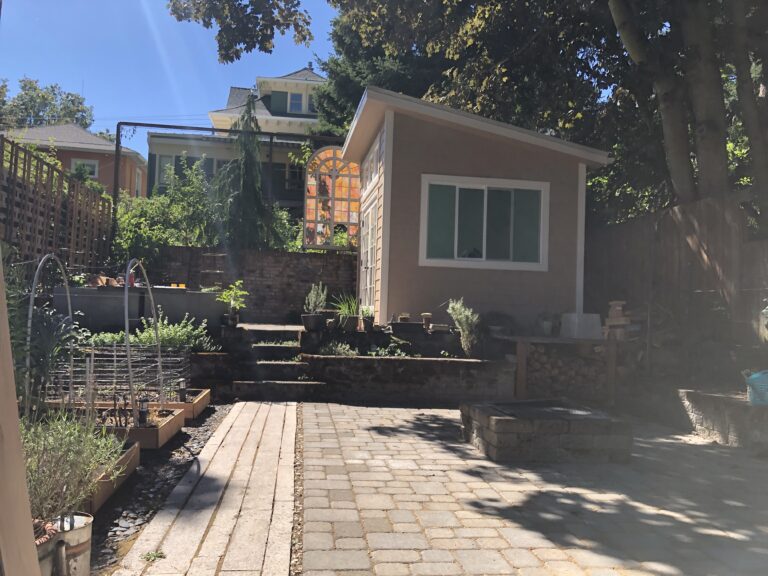

October seems to be the best time for planting garlic in Seattle.
I have tried to plant some every year. I love getting a bounty of heads in the early summer. I store them for months.